Всем привет.
Понадобилось сделать вот такое вот по работе, а именно запуск скрипта в окне браузера, а потом управлением выходными файлами из этого скрипта.
Делал с существующими ограничениями, т.к. невозможностью использования VPN, внешний доступ к скрипту и файлам.
Для этого нагуглил решения:
- ttyd
- file browser.
Рассмотрим их установку и настройку, а так же донастройку nginx. ОС — Ubuntu 20.04.6 LTS \ Ubuntu 24.0.4.6 LTS
Не забывайте про безопасность, а именно — ограничение доступа к ресурсу. Хотя бы минимальную связку, если всё это делается для внешнего доступа:
auth basic + fail2ban + ip access (при возможности).
Итак…
Начнем с TTYD.
Обновление репозитория и установка пакета:
1 | sudo snap refresh && sudo snap install ttyd |
Просмотр:
1 | sudo snap list |
вывод:
1 2 | Name Version Rev Tracking Publisher Notes ttyd 1.7.4 325 latest/stable tsl0922 classic |
Справка по ttyd:
1 2 3 4 5 6 7 8 9 10 11 12 13 14 15 16 17 18 19 20 21 22 23 24 25 26 27 28 29 30 31 32 33 34 35 36 37 38 | ttyd is a tool for sharing terminal over the web USAGE: ttyd [options] <command> [<arguments...>] VERSION: 1.7.4-68521f5 OPTIONS: -p, --port Port to listen (default: 7681, use `0` for random port) -i, --interface Network interface to bind (eg: eth0), or UNIX domain socket path (eg: /var/run/ttyd.sock) -U, --socket-owner User owner of the UNIX domain socket file, when enabled (eg: user:group) -c, --credential Credential for basic authentication (format: username:password) -H, --auth-header HTTP Header name for auth proxy, this will configure ttyd to let a HTTP reverse proxy handle authentication -u, --uid User id to run with -g, --gid Group id to run with -s, --signal Signal to send to the command when exit it (default: 1, SIGHUP) -w, --cwd Working directory to be set for the child program -a, --url-arg Allow client to send command line arguments in URL (eg: http://localhost:7681?arg=foo&arg=bar) -W, --writable Allow clients to write to the TTY (readonly by default) -t, --client-option Send option to client (format: key=value), repeat to add more options -T, --terminal-type Terminal type to report, default: xterm-256color -O, --check-origin Do not allow websocket connection from different origin -m, --max-clients Maximum clients to support (default: 0, no limit) -o, --once Accept only one client and exit on disconnection -B, --browser Open terminal with the default system browser -I, --index Custom index.html path -b, --base-path Expected base path for requests coming from a reverse proxy (eg: /mounted/here, max length: 128) -6, --ipv6 Enable IPv6 support -S, --ssl Enable SSL -C, --ssl-cert SSL certificate file path -K, --ssl-key SSL key file path -A, --ssl-ca SSL CA file path for client certificate verification -d, --debug Set log level (default: 7) -v, --version Print the version and exit -h, --help Print this text and exit Visit https://github.com/tsl0922/ttyd to get more information and report bugs. |
Сделал скрипт для запуска моего скрипта и публикации порта — start_ttyd.sh:
1 2 | #!/bin/bash exec /snap/bin/ttyd --writable -p 7681 /home/[user_name]/start_script.sh |
—writable — у меня в скрипте есть интерактивные элементы и это для возможности их использования.
- -p 7681 — ключ и порт для открытия
- /home/[username]/start_script.sh — путь до скрипта (в качестве примера).
Когда всё будет работать, то можно обратить внимание, что в заголовке окна браузера пишется полный путь до скрипта. Выглядит не очень хорошо.
Что бы это поправить, надо добавить такую опцию в скрипт start_ttyd.sh
1 | #!/bin/bash exec /snap/bin/ttyd --writable -t titleFixed="Что-то вдохновляющее" -p 7681 /home/[user_name]/start_script.sh |
- -t titleFixed=»Что-то вдохновляющее» — теперь это будет в заголовке окна браузера
Сделаем его исполняемым:
1 | sudo chmod +x start_ttyd.sh |
Запустить скрипт. Теперь можно в браузере проверить доступность: http://[ip_address or FQDN]:7681
и в окне браузера должен отобразиться ваш скрипт.
Если работает, то отлично, если нет, то смотрите вывод — там все ошибки. Еще помогает такое — просмотр логирования в реальном времени:
1 | sudo journalctl -f |
Мне для постоянного доступа потребовалось создать сервисный файл:
1 | sudo nano /etc/systemd/system/ttyd.service |
с таким содержимым:
1 2 3 4 5 6 7 8 9 10 11 | [Unit] Description=ttyd web terminal After=network.target [Service] ExecStart=/home/[user_name]/start_ttyd.sh Restart=always User=[user_name] [Install] WantedBy=multi-user.target |
Обновление systemctl и включение сервиса:
1 2 3 | sudo systemctl daemon-reload sudo systemctl enable ttyd sudo systemctl start ttyd |
или двумя командами:
1 | sudo systemctl daemon-reload && sudo systemct enable --now ttyd |
Проверить состояние:
1 | sudo systemctl status ttyd |
и вывод:
1 2 3 4 5 6 7 8 9 10 11 12 13 14 15 16 17 18 19 | ● ttyd.service - ttyd web terminal Loaded: loaded (/etc/systemd/system/ttyd.service; enabled; vendor preset: enabled) Active: active (running) since Wed 2026-04-22 23:00:03 MSK; 1 months 1 days ago Main PID: 693 (ttyd) Tasks: 1 (limit: 9409) Memory: 38.7M CGroup: /system.slice/ttyd.service └─693 /snap/ttyd/325/usr/bin/ttyd --writable -p 7681 /home/[user_name]/start_script.sh мая 25 08:33:58 [server_name] start_ttyd.sh[693]: [2026/05/25 08:33:58:6612] N: WS closed from 192.168.1.13, clients: 0 мая 25 08:33:58 [server_name] start_ttyd.sh[693]: [2026/05/25 08:33:58:6933] N: HTTP /token - 192.168.1.13 мая 25 08:33:58 [server_name] start_ttyd.sh[693]: [2026/05/25 08:33:58:7278] N: WS /ws - 192.168.1.13, clients: 1 мая 25 08:33:58 [server_name] start_ttyd.sh[693]: [2026/05/25 08:33:58:7317] N: started process, pid: 100555 мая 25 08:33:58 [server_name] sudo[100557]: [user_name] : TTY=pts/1 ; PWD=/ ; USER=root ; COMMAND=/bin/chown [user_name]:[user_name] /home/[user_name]/e...... мая 25 08:33:58 [server_name] sudo[100557]: pam_unix(sudo:session): session opened for user root by (uid=0) мая 25 08:33:58 [server_name] sudo[100557]: pam_unix(sudo:session): session closed for user root мая 25 08:34:01 [server_name] start_ttyd.sh[693]: [2026/05/25 08:34:01:5255] N: WS closed from 192.168.1.13, clients: 0 мая 25 08:34:01 [server_name] start_ttyd.sh[693]: [2026/05/25 08:34:01:5256] N: killing process, pid: 100555 мая 25 08:34:01 [server_name] start_ttyd.sh[693]: [2026/05/25 08:34:01:5280] N: process killed with signal 1, pid: 100555 |
Мне это для того, что бы если сервер перезагрузится, то скрипт уже был запущен и доступен по web.
Настройка nginx:
1 2 3 4 5 6 7 8 9 10 11 12 13 14 15 16 17 18 19 | location /script/ { recursive_error_pages on; allow [ip_01]; allow [ip_02]; deny all; error_page 403 =302 https://ya.ru; proxy_pass http://192.168.122.155:7681/; proxy_http_version 1.1; proxy_set_header Upgrade $http_upgrade; proxy_set_header Connection "upgrade"; proxy_set_header Host $host; proxy_set_header X-Real-IP $remote_addr; proxy_set_header X-Forwarded-For $proxy_add_x_forwarded_for; proxy_read_timeout 86400; access_log /tmp/certs_access.log main; } |
Теперь перейдя по адресу https://[fqdn]/script/ — в окне браузера будет отображаться запущенный скрипт, с которым можно работать.
Здесь доступ разрешен только определенным ip-адресам. В случае если адрес другой, то переадресовать на Яндекс.
Теперь 2-я часть. Управление файлами.
Используемый скрипт может как читать файл, так и записывать. Внешнему пользователю требовалось не только иметь возможность скачать, но и загрузить файл, удалить, скачать несколько файлов для один раз. В таком случае простая возможность публикации файлов через web-server Apache2\nginx мне не подходила.
Я воспользовался таким решением — file browser.
Установка:
1 | curl -fsSL https://raw.githubusercontent.com/filebrowser/get/master/get.sh | sudo bash |
Вывод:

Важно! При первом запуске создается файл filebrowser.db, т.ч. убедитесь что есть права на каталог и от какого польователя запускаете.
1 | Error: open /filebrowser.db: permission denied |
Ниже будет расписан daemon-файл, после запуска которого может возникнуть эта ошибка из-за невозможности записать в него данные.
Запуск в ручном режиме:
1 | filebrowser -r /home/[user_name]/my_files -p 8080 -a 127.0.0.1 |
- -r — каталог, в котором размещаются файлы,
- -p 8080 — открыть порт с соответствующим номером,
- -a — какой адрес слушать (тут только локальный для безопасности).
1 2 3 4 5 6 7 8 9 10 11 12 13 14 15 16 17 18 19 20 21 22 23 24 25 26 27 28 29 30 31 32 33 34 35 36 37 38 39 40 41 42 43 44 45 46 47 48 49 50 51 52 53 54 55 56 57 58 59 60 61 62 63 64 65 66 67 68 69 70 71 72 73 74 75 76 77 78 79 80 | File Browser CLI lets you create the database to use with File Browser, manage your users and all the configurations without accessing the web interface. If you've never run File Browser, you'll need to have a database for it. Don't worry: you don't need to setup a separate database server. We're using Bolt DB which is a single file database and all managed by ourselves. For this command, all flags are available as environmental variables, except for "--config", which specifies the configuration file to use. The environment variables are prefixed by "FB_" followed by the flag name in UPPER_SNAKE_CASE. For example, the flag "--disablePreviewResize" is available as FB_DISABLE_PREVIEW_RESIZE. If "--config" is not specified, File Browser will look for a configuration file named .filebrowser.{json, toml, yaml, yml} in the following directories: - ./ - $HOME/ - /etc/filebrowser/ **Note:** Only the options listed below can be set via the config file or environment variables. Other configuration options live exclusively in the database and so they must be set by the "config set" or "config import" commands. The precedence of the configuration values are as follows: - Flags - Environment variables - Configuration file - Database values - Defaults Also, if the database path doesn't exist, File Browser will enter into the quick setup mode and a new database will be bootstrapped and a new user created with the credentials from options "username" and "password". Usage: filebrowser [flags] filebrowser [command] Available Commands: cmds Command runner management utility completion Generate the autocompletion script for the specified shell config Configuration management utility hash Hashes a password help Help about any command rules Rules management utility users Users management utility version Print the version number Flags: -a, --address string address to listen on (default "127.0.0.1") -b, --baseURL string base url --cacheDir string file cache directory (disabled if empty) -t, --cert string tls certificate -c, --config string config file path -d, --database string database path (default "./filebrowser.db") --disableExec disables Command Runner feature (default true) --disableImageResolutionCalc disables image resolution calculation by reading image files --disablePreviewResize disable resize of image previews --disableThumbnails disable image thumbnails --disableTypeDetectionByHeader disables type detection by reading file headers -h, --help help for filebrowser --imageProcessors int image processors count (default 4) -k, --key string tls key -l, --log string log output (default "stdout") --noauth use the noauth auther when using quick setup --password string hashed password for the first user when using quick setup -p, --port string port to listen on (default "8080") --redisCacheUrl string redis cache URL (for multi-instance deployments), e.g. redis://user:pass@host:port -r, --root string root to prepend to relative paths (default ".") --socket string socket to listen to (cannot be used with address, port, cert nor key flags) --socketPerm uint32 unix socket file permissions (default 438) --tokenExpirationTime string user session timeout (default "2h") --username string username for the first user when using quick setup (default "admin") Use "filebrowser [command] --help" for more information about a command. |
После запуска будет сгенерирован пароль от учетной записи admin

Я перезапустил с локальным адресом для демонстрации скриншотов
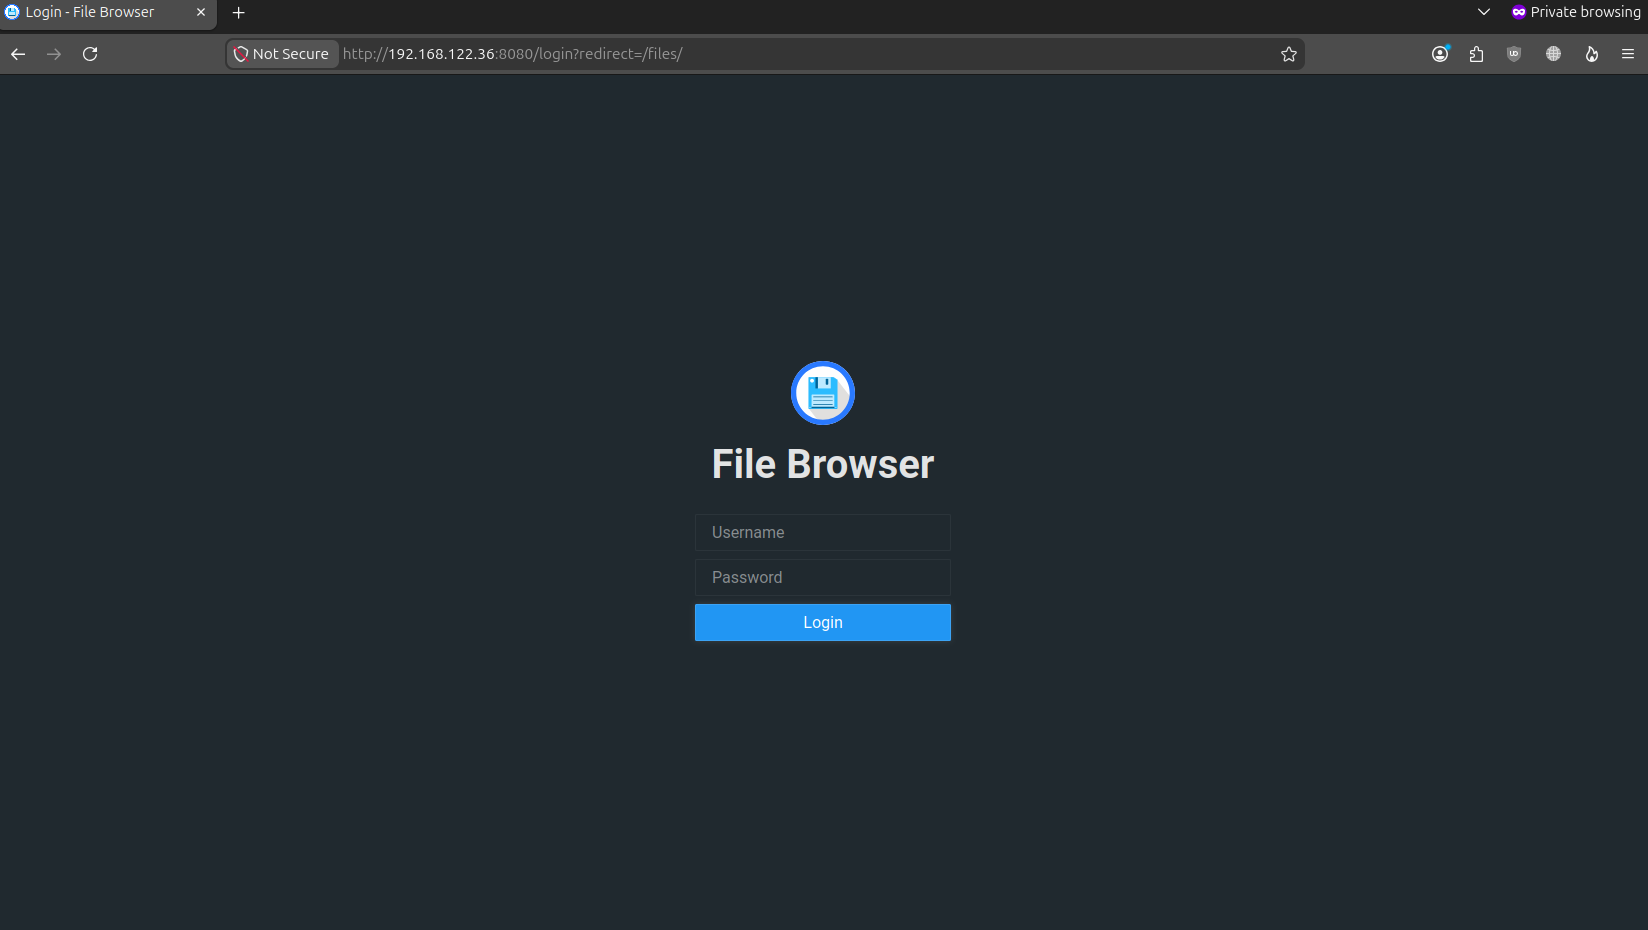
Вводим логин — admin, и сгенерированный ранее пароль
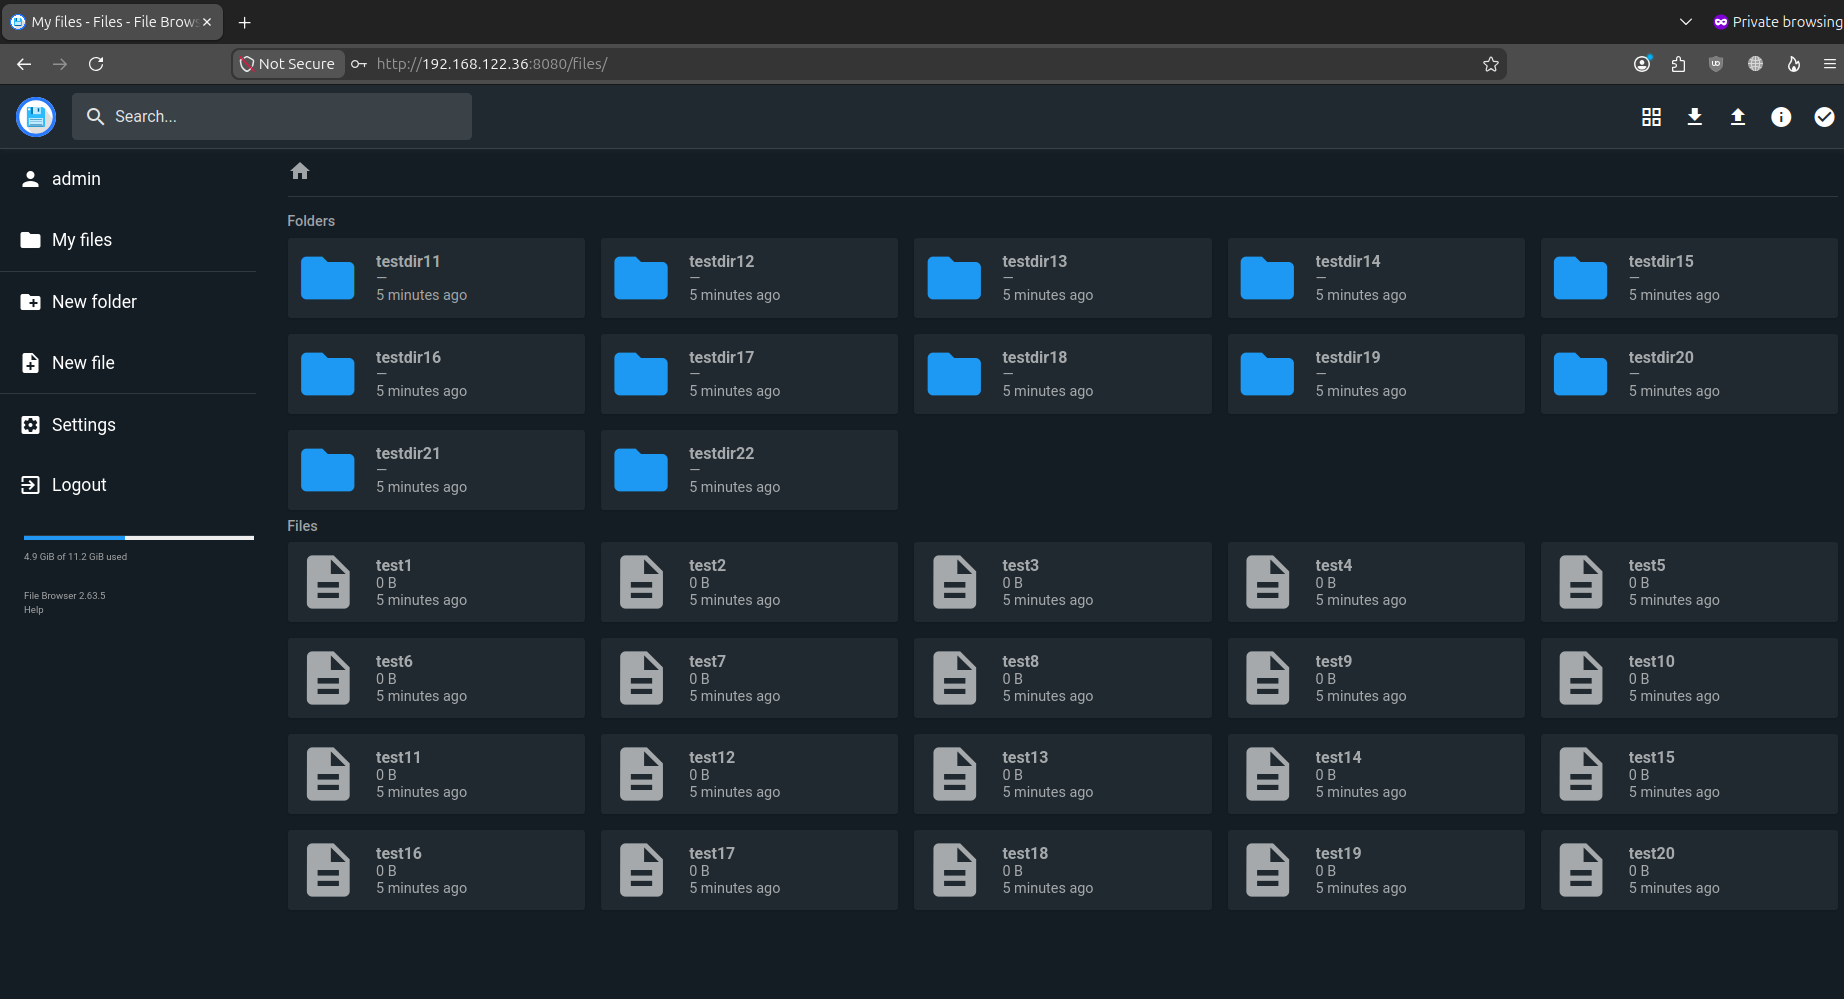
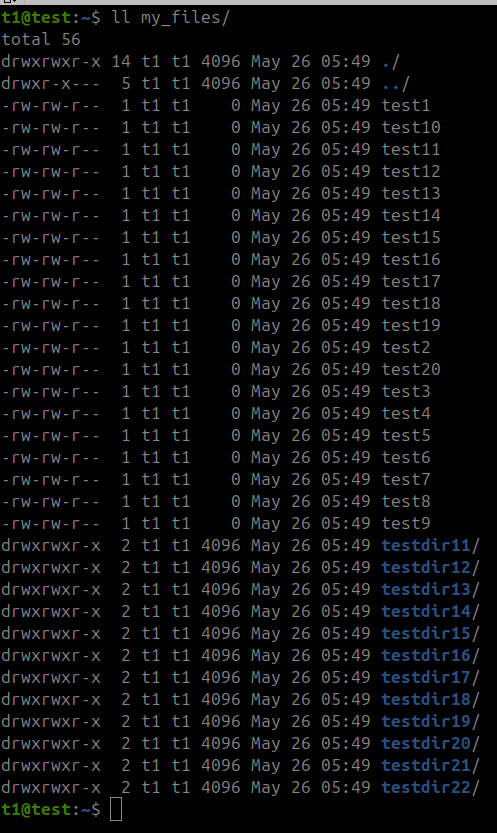
В тестовом каталоге — my_files — я создал тестовые файлы и папки для наглядности. Их видно в интерфейсе.
Как администратор вы можете в интерфейсе создавать других пользователей, назначать им права доступа, устанавливать язык интерфейса и т.п. операции.
Не вижу смысла подробно всё это описывать, т.к. любой администратор в состоянии сам разобраться.
Теперь надо создать daemon-файл для управления filebrowser. Ну что бы после перезагрузки он сам поднимался и т.п.
Вот мой файл — /etc/systemd/system/filebrowser.service
1 | sudo nano /etc/systemd/system/filebrowser.service |
содержимое файла:
1 2 3 4 5 6 7 8 9 10 11 12 13 14 15 16 | [Unit] Description=File Browser After=network.target [Service] WorkingDirectory=/home/[user_name] ExecStart=/usr/local/bin/filebrowser \ -r /home/[user_name]/my_files \ -p 8080 \ -a 127.0.0.1 \ -d /home/[user_name]/filebrowser.db Restart=always User=[user_name] [Install] WantedBy=multi-user.target |
Если не работает, то вот так:
1 2 3 4 5 6 7 8 9 10 11 | [Unit] Description=File Browser After=network.target [Service] ExecStart=/usr/local/bin/filebrowser -r /home/[user_name]/my_files -p 8080 -a 127.0.0.1 -d /home/[user_name]/filebrowser.db --baseurl /results Restart=always User=root [Install] WantedBy=multi-user.target |
Все параметры заданы для примера, у вас должны быть свои. И не забывайте про права доступа — rwx — на файлы и каталоги filebrowser и предоставляемых для доступа.
Обновление systemct daemon и активация серсвиса:
1 | sudo systemctl daemon-reload && sudo systemct enable --now filebrowser |
Узнать расположение бинарного файла можно такой командой:
1 | whereis filebrowser |

Теперь моя конфигурация.
Filebrowser у меня запущен как сервис выше. Далее, что бы те, кому нужен доступ, могли получить доступ я добавил на внешний nginx в конфиг работающего сайта вот такую локацию (location):
1 2 3 4 5 6 7 8 9 10 11 12 13 14 15 16 17 18 | location /my_files/ { recursive_error_pages on; allow [ip_01]; allow [ip_02]; deny all; error_page 403 =302 https://ya.ru; proxy_pass http://192.168.122.155:8080/; proxy_http_version 1.1; proxy_set_header Upgrade $http_upgrade; proxy_set_header Connection "upgrade"; proxy_set_header Host $host; proxy_set_header X-Real-IP $remote_addr; proxy_set_header X-Forwarded-For $proxy_add_x_forwarded_for; proxy_read_timeout 86400; access_log /tmp/results_access.log main; } |
Теперь они могут зайти по адресу: https://[fqdn]/my_files/ и увидеть страницу с filebrowser.
Это я привел в качестве примера, т.к. такое было требование из-за невозможности использовать VPN, что было бы намного правильнее и безопаснее.
Тут есть ограничение по ip-адресу для этой локации, но еще есть выше уровнем доступ по сертификату. Т.е. сначала запрашивается сертификат, потом проверяются адреса доступа. Если всё совпадает, то доступ предоставляется, если нет — редирект на Яндекс.
Все настройки приведены для примера, вы устанавливаете свои.
Файл:
zip-архив установочного файла file browser — file_browser_get_sh
Ссылки:
репозиторий Github — там версия актуальнее, чем у меня в snap.
If you found an error, highlight it and press Shift + Enter or to inform us.
